
As is well known, the great success of the C64 from the mid-80s onwards was based on its revolutionary sound and graphics capabilities, making it the ideal gaming console. Due to its low price, which was based on the philosophy of Jack Tramiel, founder and head of the company Commodore Business Machines (CBM) (quote: “We need to build computers for the masses, not the classes.“), the Commodore C64 – or as its fans soon affectionately called it – bread box, achieved very strong distribution and thus became the best-selling home computer.
So it was obvious to offer “serious” application software as well. Despite its very limited memory of 64 kB RAM, there were also many word processing programs, spreadsheet, database or financial software, which were mostly designed for the private sector or the “small office”. From the beginning of the 80’s the first IBM PC’s came on the market, but they were simply too expensive for most home users. Therefore, the C64 had to be used for correspondence at home.
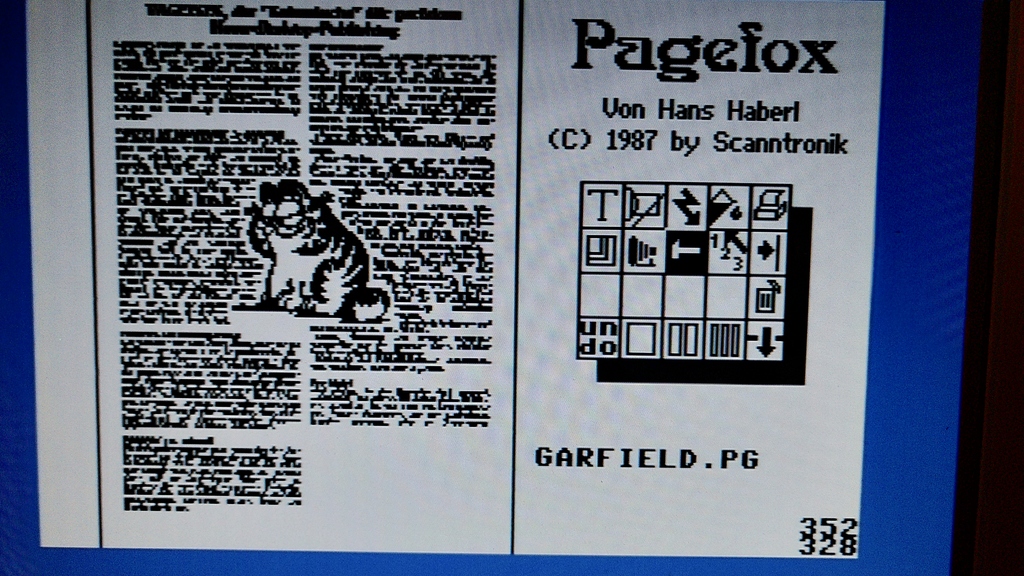
Pagefox for C64 and C128
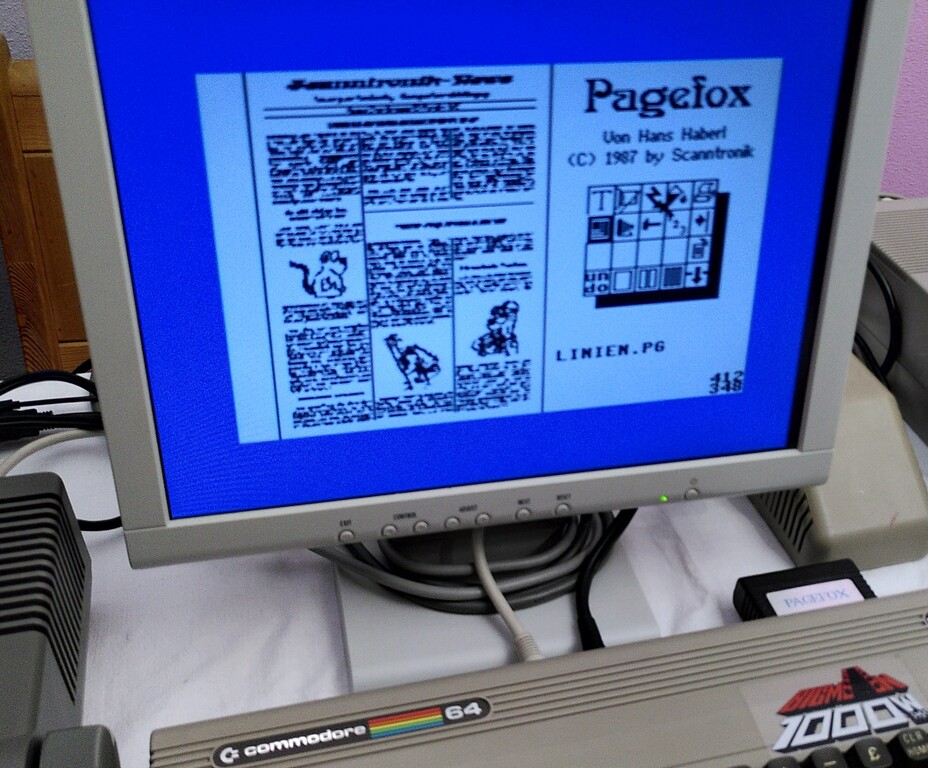
An extremely powerful application software was Pagefox from the German company Scanntronik near Munich. However, Pagefox is actually more than just a word processor. The software is already considered as a so-called desktop publishing software, which could be used for layouting magazines or print templates. It offers free design options for page layout and combines text and graphics into a single unit, the so-called page layout, which could then be printed out on a standard dot-matrix printer.
conclusion of Happy computer 1988:
“All in all Pagefox is highly recommended despite its high price of just under 250 Marks the best DTP program for the C64.”
Pagefox was developed by German programmer Hans Haberl, who had previously attracted some attention with Printfox and Hi-Eddi. The software came onto the market in 1987 for around 250 DM.
Curious? Then I want to introduce Pagefox to you a bit closer.
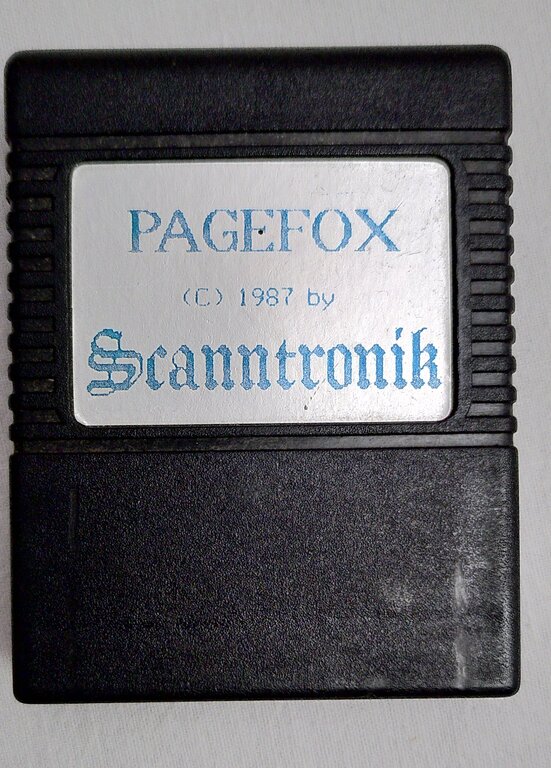
Pagefox is only available as a module for the C64 or C128 to plug into the expansion port, because it comes with 32kB RAM in addition to 64kB ROM for the actual software and additional fonts. The memory of the C64 alone would not be enough to hold a complete DIN-A4 page in memory. If you compare that with modern DTP programs, you would be able to display just one letter on the screen with the tiny memory. Okay, the comparison is lame 😉
Still, it’s amazing how much functionality is packed into this little software module. It is further expanded by some enclosed floppy disks, on which additional character sets, frame character sets (more about this later), sample graphics, print templates and demo layouts can be found. The operation is preferably done by mouse or keyboard shortcuts.
If the module is plugged into the expansion port of the Commodore, the computer directly starts Pagefox with the page layout editor.
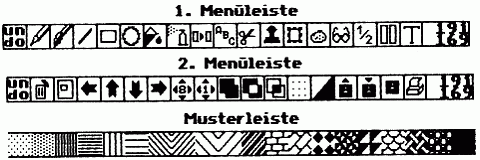
The pictograms for the individual functions on the right side take some time to get used to at in the beginning. Here one notices how spoiled we are today by (more or less) standardized user interfaces. At that time, mouse operation of a software was still rather rare and accordingly every software developer implemented his own ideas of a user interface.
Pagefox essentially consists of three program parts: Besides the layout editor, there is also the text editor and the graphics editor. With C=+G or C=+T you can switch between the graphic and text editor. With C=+Q you get back to the layout editor. If you press C=+Q again, Pagefox is exited and you end up in BASIC (entering SYS3488 switches back to Pagefox).
Layout-Editor
The start screen of Pagefox is the layout editor. Here you have the possibility to define the text and graphic areas with placeholders in the form of rectangular boxes, which you drag with the mouse accordingly in the left half of the window. You can place the placeholders freely and they can also overlap.

Alternatively, you can choose from three predefined layouts (1, 2 or 3 columns) or load a template from disk. Furthermore, it is possible to display a print preview on the screen (WYSIWYG). The what-you-see-is-what-you-get principle was still in its beginnings at that time. But with C64-GEOS and of course with the graphical user interface of the first Mac’s this principle became more and more a central point for more usability of software.


Images above from left to right: layout mode, quick preview (flash), full preview (tilted glass).
An overview of many functions of Pagefox with a short description can be read for example here (unfortunately in German): https://www.c64-wiki.de/wiki/Pagefox
You can download the complete German manual in the original as PDF here: https://retroportblog.files.wordpress.com/2018/10/scanntronik_pagefox.pdf
Text editor
Switching to the text editor (with C=+T) takes you to the text input interface. This is similar to the word processor Vizawrite and is also largely compatible with it. Here also existing texts in ASCII, CBM, StarTexter, Textomat or Wordpro format can be loaded (C=+L / C=+S). It is also possible to import BASIC listings. However, a maximum of 9000 characters per page is possible. The text editor does not work according to the WYSIWYG principle. However, you can change the text very individually with the help of numerous control characters. Here you can choose from almost any combination of font, font size and format. The additional fonts are partly loaded from disk. By clicking with the right mouse button, you get a font menu, with which some things can already be changed with a mouse click. Beyond that one can make however by direct input of control sequences further fonts or – formatting. Big advantage: Pagefox is not limited to the fonts provided by the printer. Since Pagefox converts the entire print image into graphics, any fonts can be printed in almost any size.
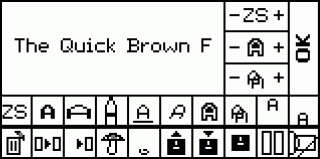
Pagefox offers one more special feature here: so-called frame character sets. In principle, these are small graphic symbols that are loaded like normal character sets and can then be entered like letters. With this, funny effects can be realized, for example as a frame for an invitation card.
The text automatically flows into the text boxes that you have created using the layout editor. If you press CTRL-P in the text editor, the text is wrapped manually and the following text is printed in the next text box. If you want to view the result on the screen (WYSIWYG), switch back to the layout editor and click on Preview (symbol: tilted glass). After a few seconds, the page is displayed on the screen in small format, as the printer would print it later. If one combines graphic and text boxes in the layout mode, Pagefox also ensures that the text “flows” around the graphics.
Frame character sets
Printfox, the predecessor of Pagefox, already knows the previously mentioned frame character sets. They were adopted for Pagefox accordingly and offer a very extensive possibility to place arbitrary graphic symbols as frames around a text block or a whole page. For this purpose Pagefox already comes with two floppy disks full of frame character sets (RZS), which can be used in the text editor like normal character sets.
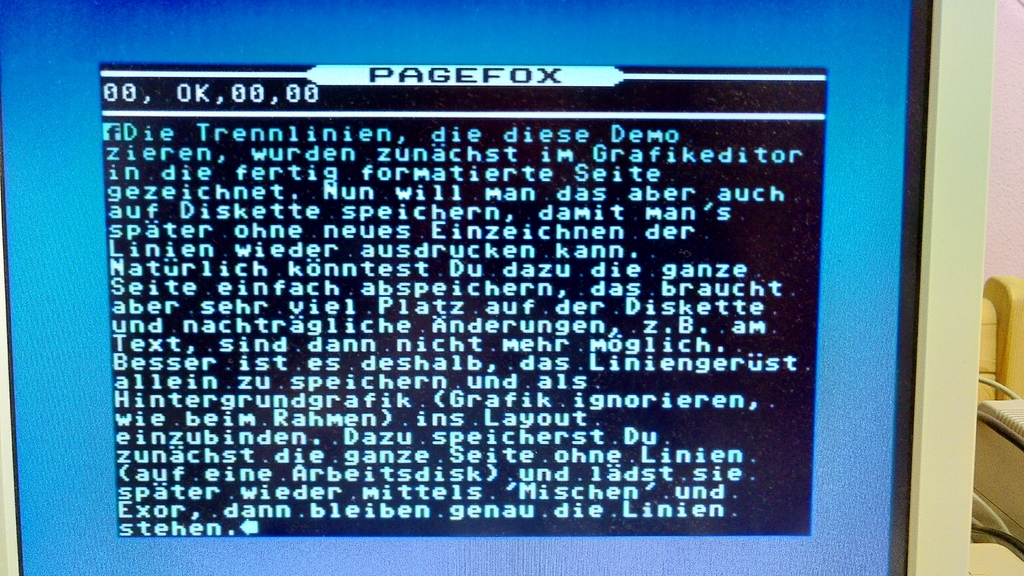
The procedure takes a bit of getting used to, so I’ll go into a little more detail here:
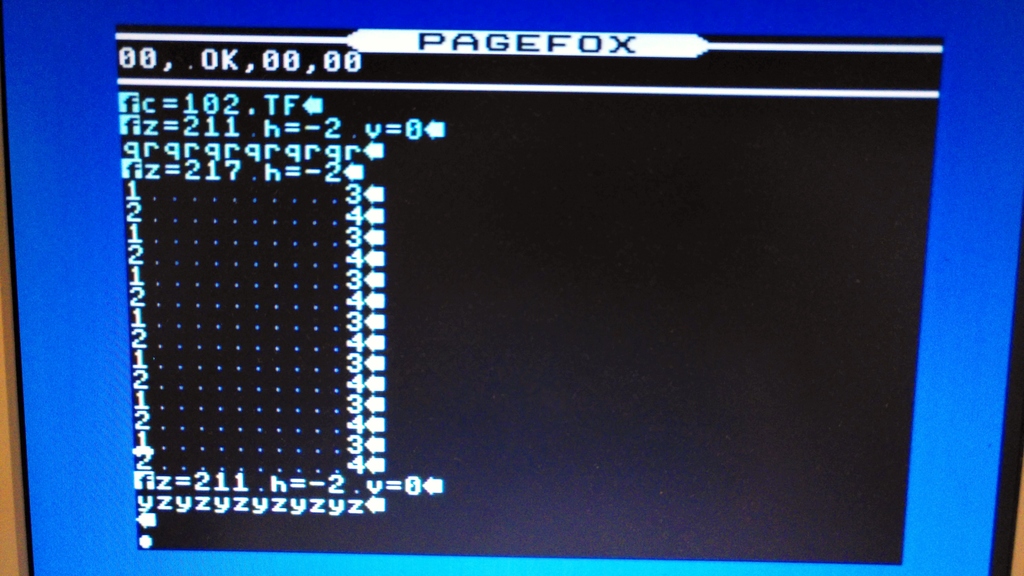
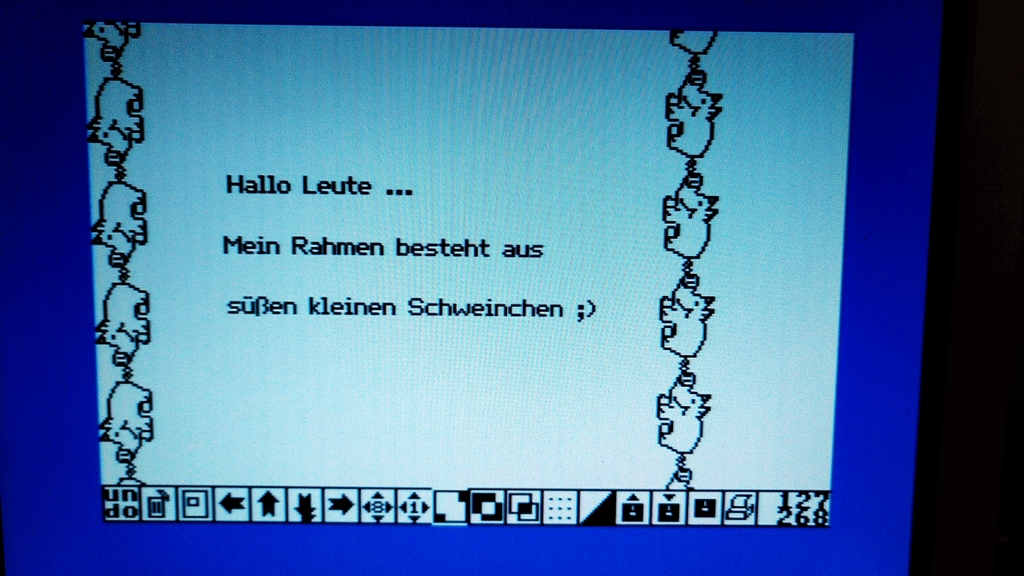
After defining the RZS with the control code z=211 for the horizontal frame (see picture), each character represents a graphic symbol. Sometimes larger symbols are also composed of two characters, like the piggy (q and r) in the example. For the vertical piggies (RZS z=217) there is a separate character set and corresponding letters or numbers (left 1 and 2, right 3 and 4). The picture illustrates this quite well.
After you have designed the frame in the text editor, you switch to the layout editor and click on the “complete preview” (color pot symbol). Then switch to the graphics editor. Here you can see the complete frame as it would look when printed. This frame is now saved as a Pagefox graphic. This step is necessary so that the text editor can later be made “free” again for the actual text, which is to be placed within the frame.

Back in the layout editor, click the camera icon to load the previously saved frame as a graphic and place it on the page. Then click on the hammer to edit the graphic box and click on the text flow below the camera symbol until solid lines appear. These lines indicate that the text flow ignores the graphic, i.e. it fades into the background and the subsequent text is printed on the white area of the graphic.
Now add a text box that is placed inside the graphic box. This text box can now be filled with a text, like for example an invitation. To do this, switch back to the text editor (C=+T). There you delete the “Frame text” and instead write an invitation text as usual, which is then automatically placed in the text box.
Graphics editor
The graphics editor is another component of Pagefox. It is used to change graphics or to create completely new ones. Its functions are similar to those of today’s photo editing programs. In addition to the basic functions such as pen, brush, rectangle, circle, duplicate, delete, etc., you can also enlarge a section and edit it with pixel precision in the sprite editor. There are also fill patterns to fill in areas. Since the text itself is also graphic, it is even possible to change the text in the graphic editor before it is printed.
Printing
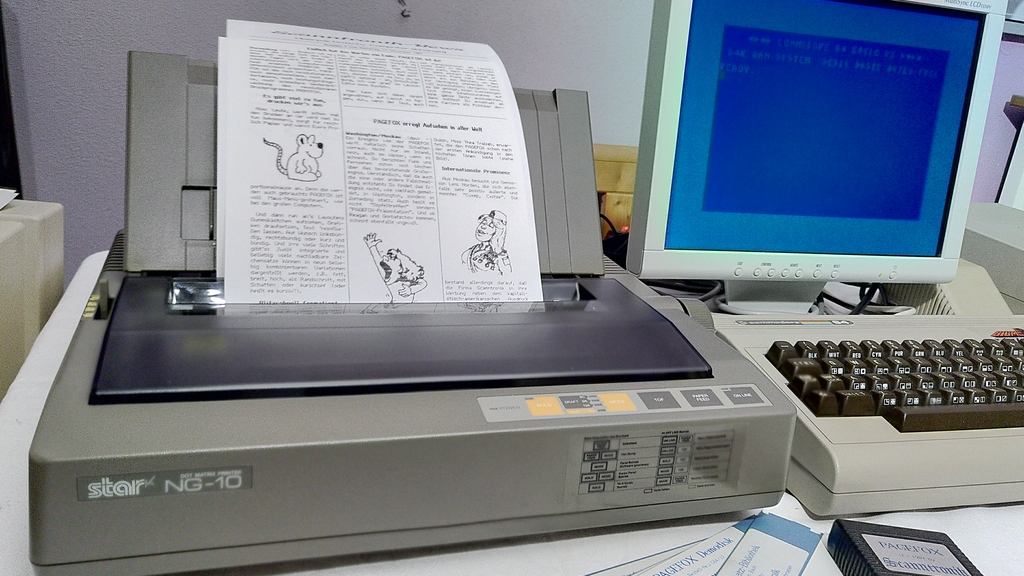
At the end, of course, you want to enjoy your result on paper. Pagefox can handle all graphic capable EPSON compatible printers that manage at least 1920 pixels per line. The Star NG-10 is identical to the Star NL-10, with the difference that it has the serial Commodore interface integrated and the case color is gray instead of beige. With this printer I could produce super results.
In the printer menu (C=+P) you select “High”, “Auto-Linefeed”, “Center”, “Standard (paper length)”. Then select “Simple” to start a single printout.
Admittedly, not much can be configured for the printer. And this is also a point of criticism for Pagefox, because there is no possibility for individual printer adjustments.
One should also make sure that all fonts and graphics of the print page are available on the inserted diskette, since these are loaded directly from diskette during the printing process. It is best to copy all the necessary files to a working diskette. Afterwards you can enjoy the sawing sound of the dot matrix printer for quite a while. For me, a DIN A4 printout in high print quality took about 15 minutes … Yes, that’s the way it is with a time travel to the 80s … everything just took a little longer … and Twix was still called Raider 🙂