The EPSON HX-20 was the world’s first real laptop in the early 80s. I have already presented this exceptionally interesting device in another article.
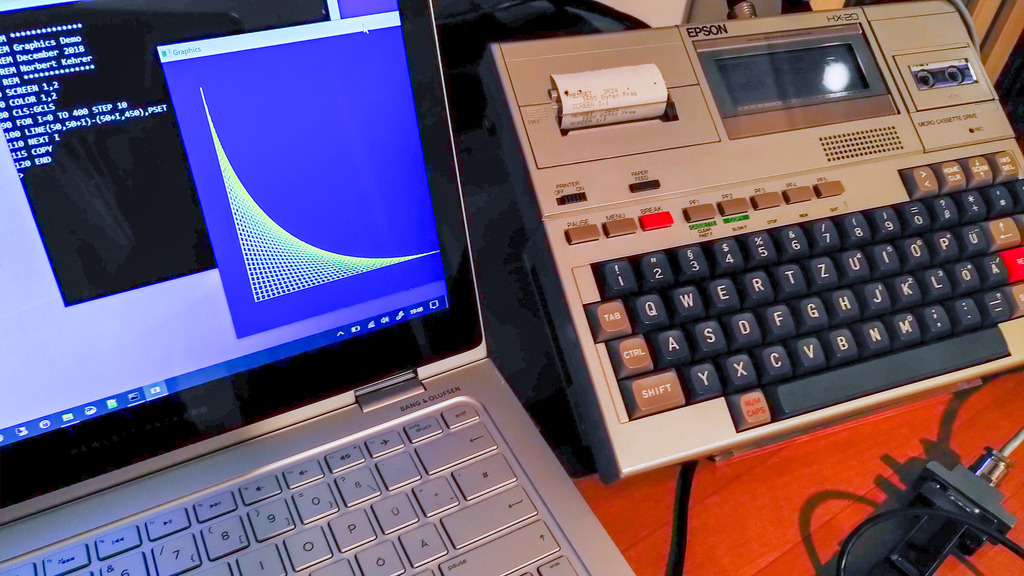
However, those who want to work longer or more seriously with the EPSON HX-20 will surely miss a decent screen the most. The 4 x 20 characters of the LCD quickly make you lose track when you have to deal with larger listings. In addition, the graphic capabilities of the LCD are very limited. Fortunately, Norbert Kehrer has a simple and very practical solution with his tool flashx20. It simulates an external monitor for the HX-20 on a standard PC under Windows. On top of that there is a helpful floppy emulation, with which it is possible to load HX-20 programs directly from the PC.
For the connection nothing more is needed than a serial cable, which you can easily solder yourself. Only three pins are needed: TX, RX, GND. I have already described how to do this in my article “Data transfer from PC to EPSON HX-20“. On the PC side you also need a USB-to-serial adapter if the computer itself does not have a 9-pin serial port.
After that, all you have to do is download the zip file to your Windows PC or laptop and unzip it.
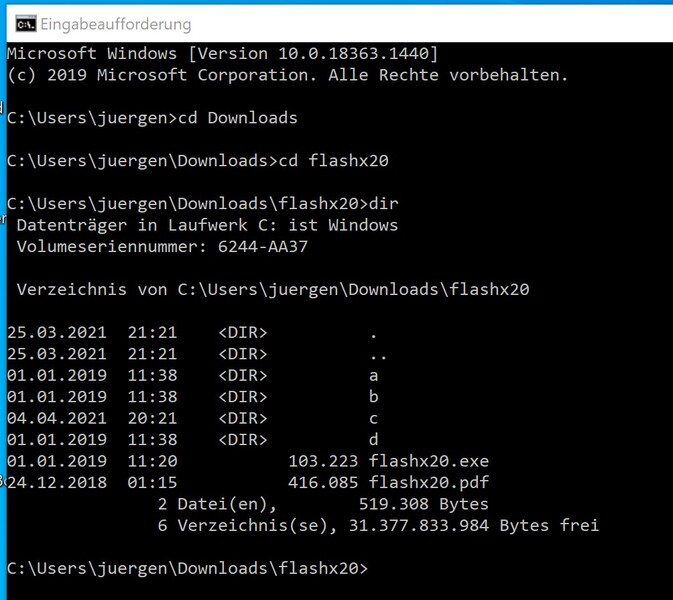
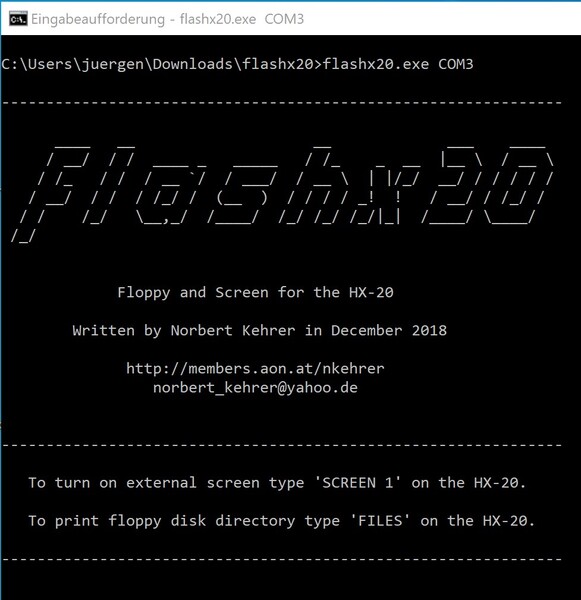
The tool is then simply started with flashx20 . Here one selects the COM port of the USB serial adapter (possibly look in the Windows device manager). Beside the executable file there are subdirectories which correspond to the drive letters of the emulated floppy drive (A, B, C, D). In these subdirectories there are already some sample programs for the HX-20 and you can store more there. Thus the tool can also be used to exchange programs between PC and HX-20 very easily, which is an alternative to the one presented here.
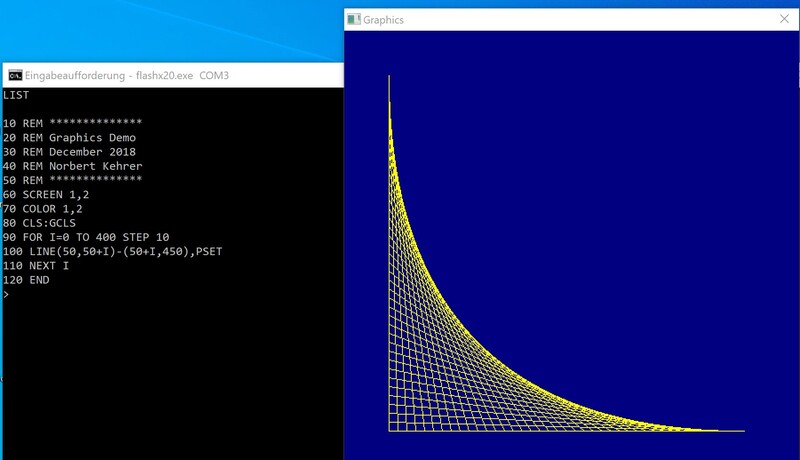
But the main task of the tool is to provide an extended screen for the HX-20. Strictly speaking, there are even two screens: Besides the text console, there is optionally another window for the graphical output. This can even display higher resolutions than the LCD can. The desired resolution can be selected via the start parameters.
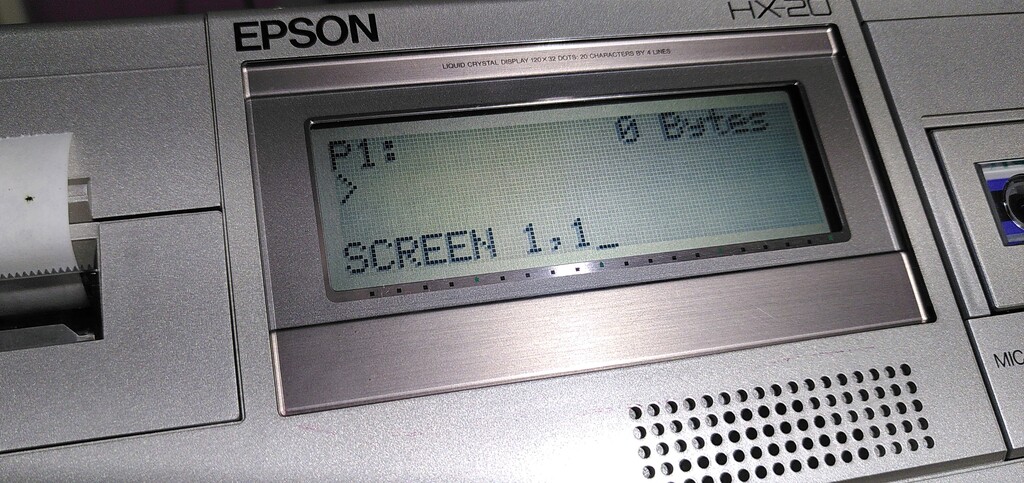
Before you start flashx20, connect the serial cable on HX-20 side with the round 5 pin DIN connector with the “Serial” socket and the 9 pin socket with the USB-Serial-Adapter or the serial port on the PC. Then one starts flashx20 with the specification of the COM port and switches on the HX-20. There you change to BASIC and activate the external screen with SCREEN 1 or SCREEN 1,1, if you also need a graphic screen.
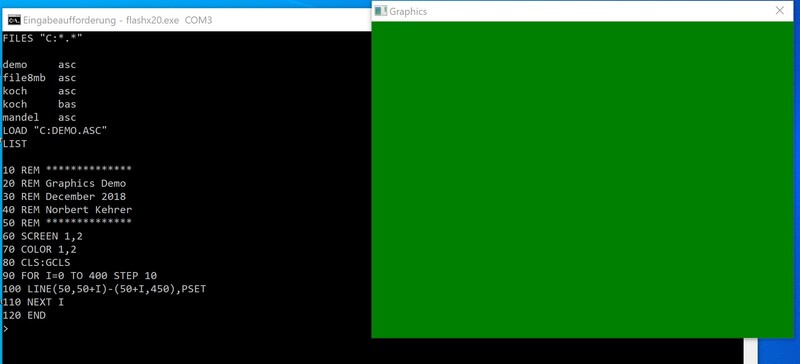
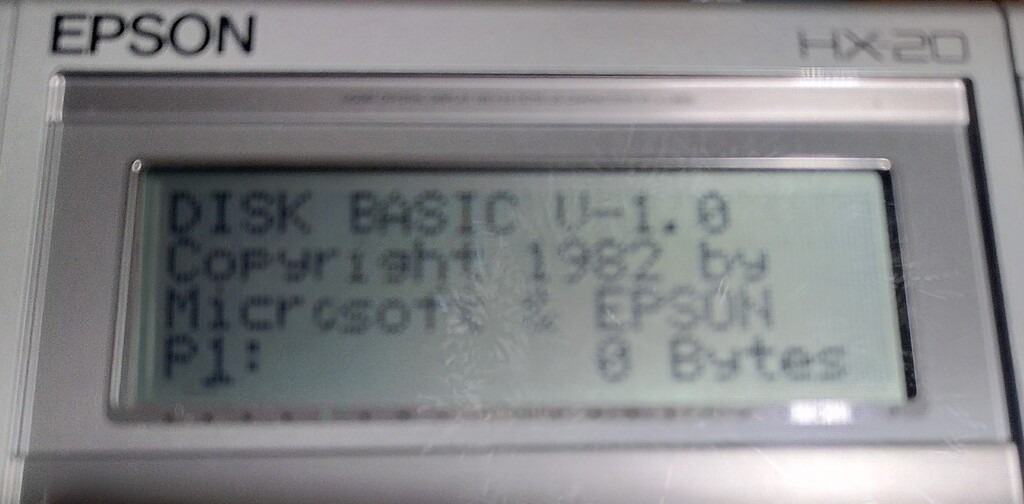
If you want to use the floppy emulation, you have to activate the DIP switch 4 on the HX-20, which is located behind the bottom flap of the laptop. Then the HX-20 loads the DISK BASIC on startup. This then allows the floppy commands to be used, such as “FILES” to display the contents of the floppy or LOAD “A:PONG.ASC” to load a program. More information about the condition can be found in the PDF file in the flashx20.zip
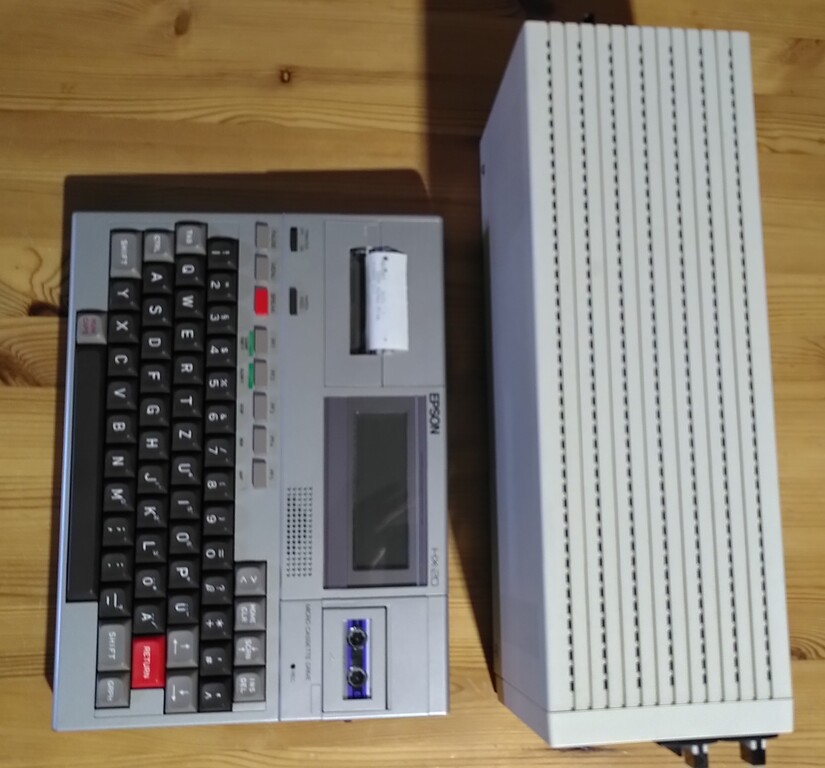
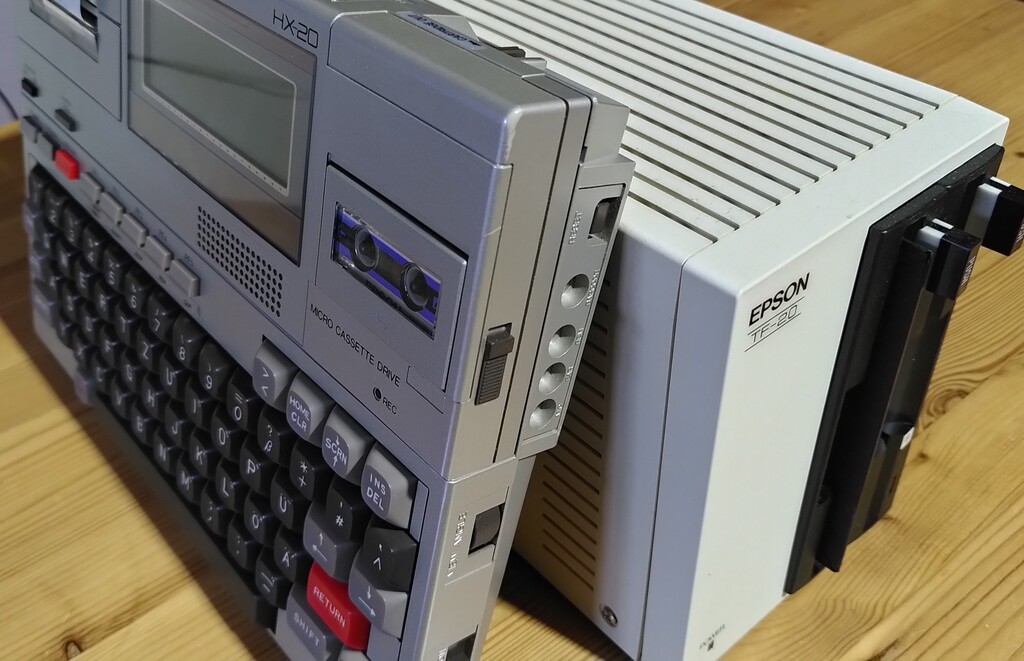
By the way, it emulates the EPSON double floppy TF-20, with 2x 5.25″ floppy drives. I even have such a giant in my collection. The TF-20 is a computer of its own with its own Z80 CPU, 64 kB RAM, boot PROM and weighs about 5 kg. It needs a boot floppy in drive A, with which the floppy drive boots after power on and loads the TFDOS from the floppy.

two serial ports 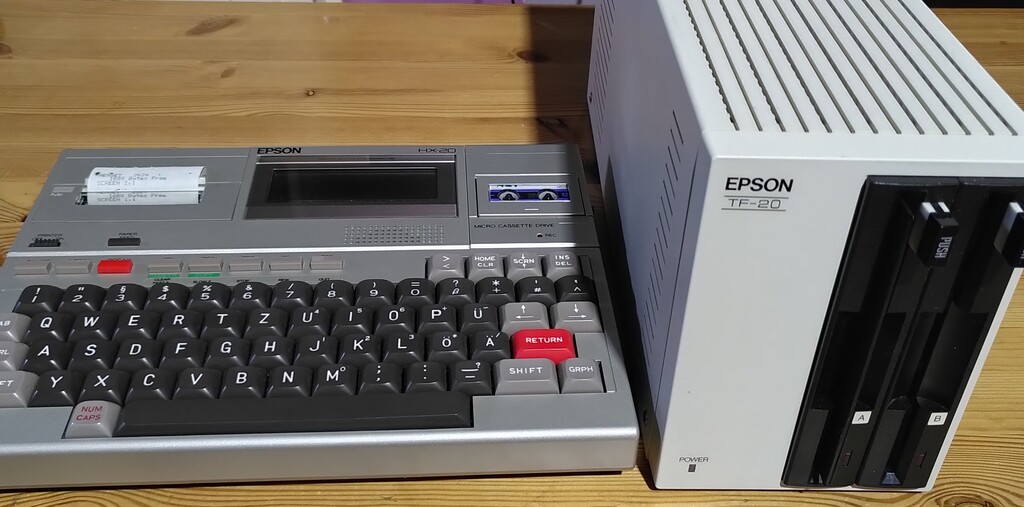
EPSON HX-20 Laptop and double floppy drive TF-20
OMG !
This is great information. I am getting my HX-20 restored. I have some parts coming this week.
There’s not enough EPSON HX-20 information on the web so I welcome anything. I wasn’t thinking I’d want or use a 2nd display but this clearly shows I should rethink that. Thanks for all the hard work. I’ll be dropping by more often, once I get new batteries and see if I can restore the cassette. It may just need the batteries to get going. We’ll see.
I get strange characters below the 1 & 2 menu options. Not sure what that is about. Maybe bad memory? I hope not.
Thank you for the positive feedback.
Unfortunately, you are right that there is not a lot of information about this great computer on the net.
The character salad after switching on does not necessarily have to be due to a defect, because this also happens again and again with my HX-20.
For example, if the battery was empty and then the computer is switched on again after charging, this kind of character salad can occur. The HX-20 should always be operated with a charged battery. If the problem occurs, try reinitializing it after switching it on with the key combination CTRL+§ (SHIFT+3). I hope this tip helps.